In the twisted realm of Dead by Daylight, the killer's primary directive is clear: hunt, hook, and sacrifice survivors to The Entity. Yet, any seasoned player knows that rigidly following this script can lead to disaster. Sometimes, the most powerful move a killer can make is to voluntarily let go. That's right—knowing when and how to drop a carried survivor is a nuanced skill that separates reactive bullies from strategic masterminds. While it might seem counterintuitive to release your prey, this action is a crucial tool in the killer's kit, dictated entirely by the survivors' own strategies and the ever-shifting landscape of each trial. Mastering this can turn a potential loss into a dominant victory.
First things first, the mechanics. Dropping a survivor is deceptively simple—just one button press. But that single action carries significant weight. Here’s the universal command across all platforms for 2026:
-
PC Gamers: Smash that R key!
-
PlayStation Players: Tap the Circle button.
-
Xbox Champions: Press the B button.
-
Nintendo Switch: Hit the A button.
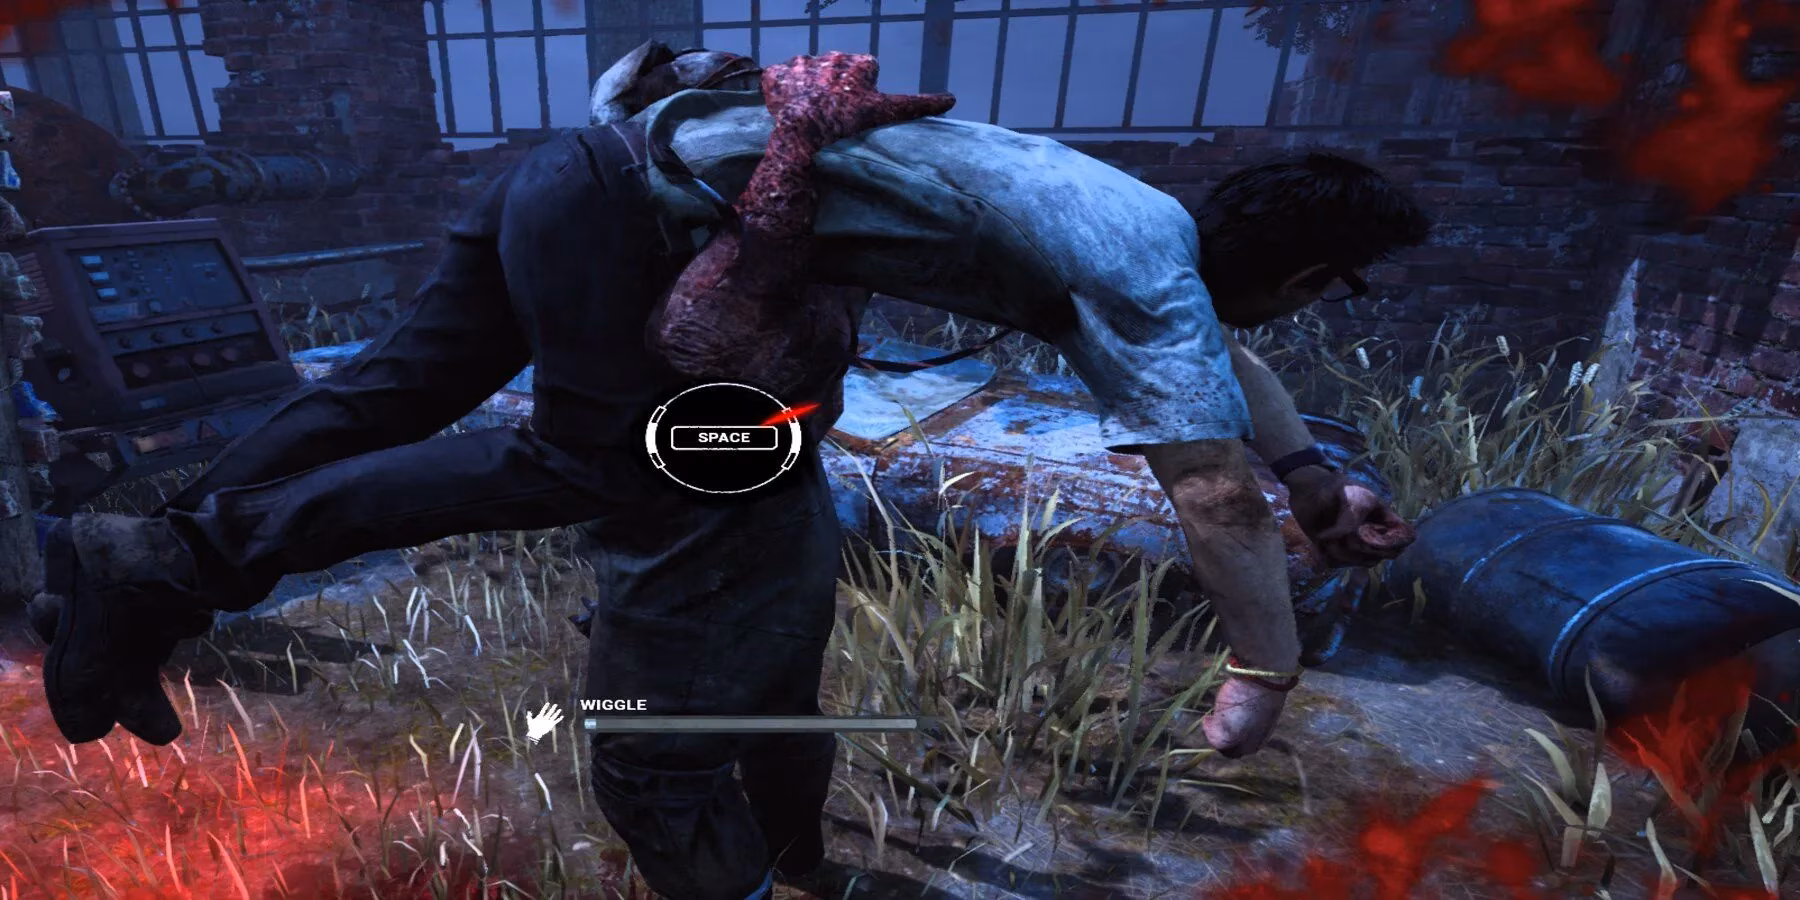
⚠️ CRITICAL WARNING: Every time you drop a survivor, their Wiggle Meter increases by a whopping 25%. This is the game's built-in check against abuse. If you drop a survivor when their wiggle meter is already at 75% or higher... well, guess what? They break free instantly! This mechanic exists to prevent infinite "dribbling," a tactic where killers would repeatedly drop and pick up a survivor to bypass certain perks. So, you can't just toy with them forever.
Why Would You Ever Let Them Go? 🤔
Since Dead by Daylight is a dynamic, mind-game-heavy experience, killers must adapt to survivor actions in real-time. The classic example is avoiding Decisive Strike. If you suspect a survivor has this perk equipped, dropping them before reaching a hook can be a smart play to let the timer expire, denying them a free escape. But that's just the tip of the iceberg!
Let's break down the strategic reasons to hit that drop button:
1. Perk & Map Sabotage: Survivors have tools to make your life hell while carrying someone.
- **Boil Over:** This perk can make you get stuck on terrain or see hook auras only at close range. If you're struggling to move, dropping the survivor to chase the rescuer or break a nearby pallet might be the better play.

- **Saboteur Squads:** You're walking to a hook, and another survivor swoops in and breaks it! 😱 If the next hook is miles away, dropping your current target to chase the saboteur applies pressure and stops them from dismantling your entire network.
2. The Body-Block Dilemma: Sometimes, altruistic survivors will throw themselves in your path to block you. If you're being body-blocked and the wiggle meter is climbing, it's often better to drop the survivor, smack the blocker, and create chaos. This often leads to multiple injured survivors instead of one escaped one.
3. Strategic Re-prioritization: Maybe you downed someone in a dead zone far from any hooks. Instead of embarking on a long, vulnerable walk while generators pop, drop them! Go intercept survivors on nearly-completed generators. The pressure you lose by not securing that one hook is often regained by stopping a gen and injuring others.

The Cost-Benefit Analysis: To Drop or Not to Drop? ⚖️
This isn't a decision to make lightly. Before you release your grip, run through this mental checklist:
| Factor to Consider | Question to Ask |
|---|---|
| Hook Proximity | How far is the nearest hook? Is it worth the walk? |
| Survivor Perks | Do they have Decisive Strike, Boil Over, Flip-Flop? |
| Map Pressure | How many generators are left? Are others being worked on right now? |
| Team Activity | Are other survivors swarming for a rescue or body-blocking? |
| Your Perks & Power | Can your killer's ability help secure the hook later (e.g., Nurse's blink, Hag's traps)? |
Sometimes, dropping is the best play even if they escape. Losing one hook to aggressively defend the last three generators is a winning trade. It forces survivors off objectives, creates healing downtime, and spreads your pressure across the entire team.
Advanced Tactics & Mind Games 🧠
Dropping isn't just a reactive move; it can be proactive psychological warfare.
-
The Fake-Out: Pretend you're walking to a distant hook, then suddenly drop the survivor near a completed generator. They might think they're safe to heal there, allowing you to double back for an easy catch.
-
Baiting the Rescue: Drop a survivor in the open and hide nearby with a stealth killer like Ghost Face or Pig. Watch as their teammates run for the rescue, then ambush them for a potential double down.
-
Denying Value: If a survivor is running a "slugging" build (like Unbreakable + Tenacity), dropping them intentionally to pick them up again can waste their precious perk cooldowns.
Final Verdict from The Entity 👻
In 2026's meta, where survivor tools and coordination are stronger than ever, killer success hinges on smart, flexible aggression. Knowing the proper time to drop a survivor amps up the pressure exponentially and allows you to capitalize on survivor mistakes for easier sacrifices later. It’s about controlling the trial's tempo, not just mindlessly collecting hooks. So next time you pick up that Claudette, take a split second to assess the situation. That drop button isn't an admission of defeat—it's a declaration of strategic dominance. Now go out there and make The Entity proud! 💀
Comments